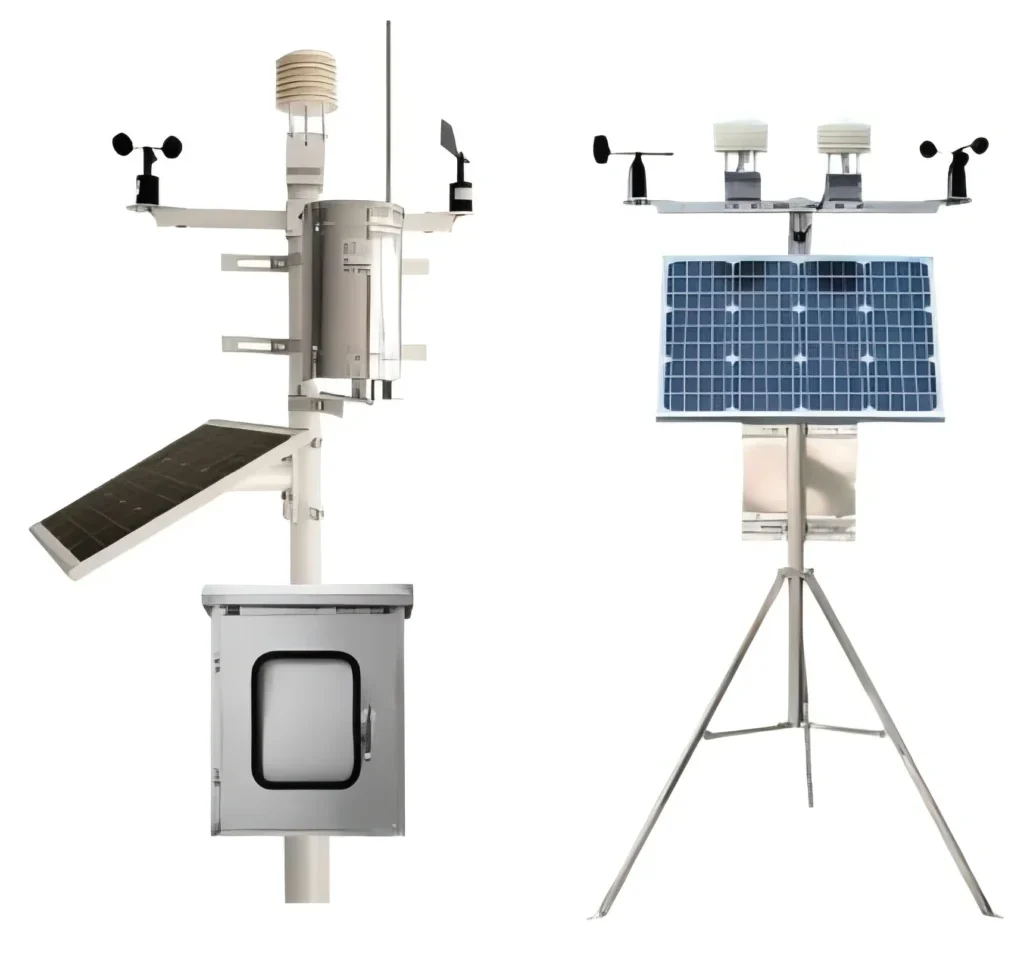
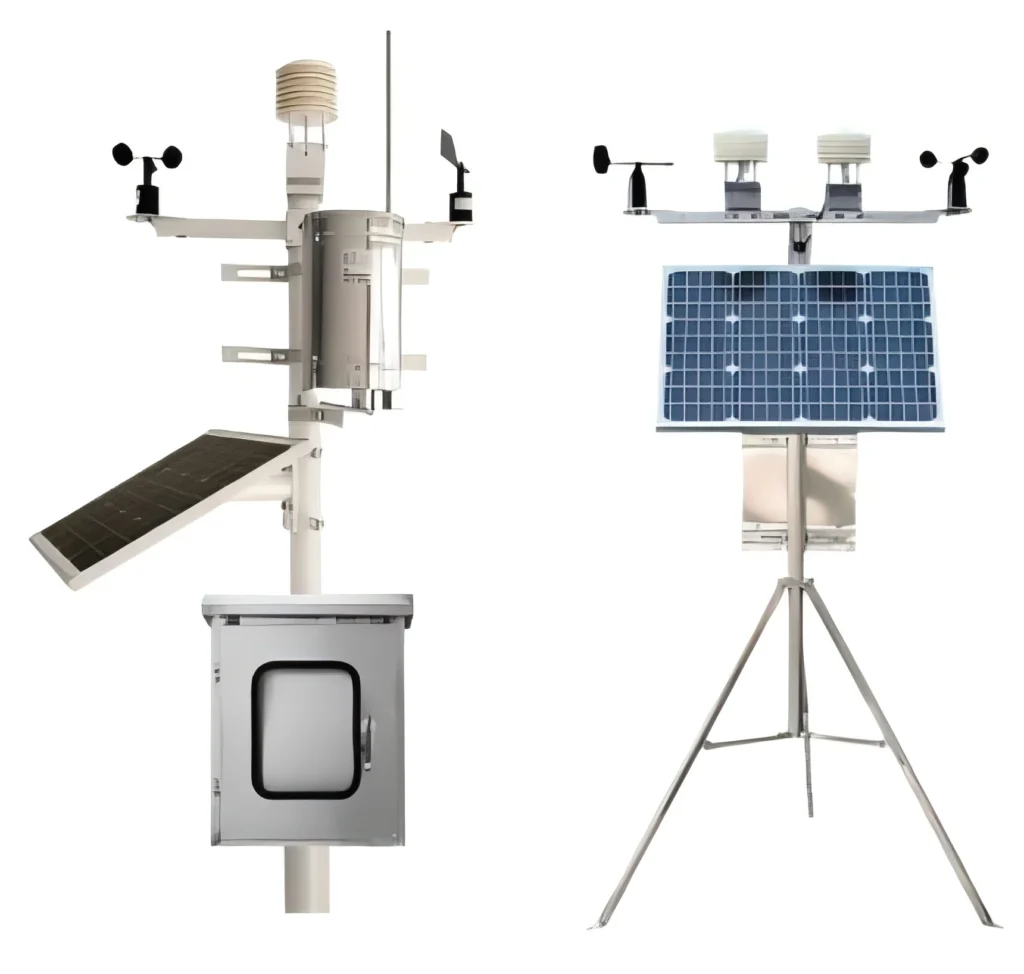
# Acurite Weather Station Mounting Guide
Mounting your Acurite weather station correctly is crucial for accurate weather readings and long-term durability. Whether you’re a weather enthusiast or simply want to monitor local conditions, proper installation ensures reliable performance. This guide will walk you through the steps to mount your Acurite weather station effectively.
## Choosing the Right Location
Before mounting your Acurite weather station, it’s essential to select an optimal location. Here are some key considerations:
– **Avoid Obstructions:** Ensure the area is free from tall buildings, trees, or other structures that could block wind or sunlight.
– **Height Matters:** Mount the station at least 5 feet above the ground to avoid ground-level interference.
– **Sun Exposure:** Place the station in an area that receives consistent sunlight for accurate temperature readings.
– **Accessibility:** Choose a location that is easy to access for maintenance and battery replacement.
## Tools and Materials Needed
Gather the following tools and materials before starting the installation:
– Acurite weather station kit
– Mounting bracket (included with most models)
– Screws and anchors (if mounting on a wall)
– Drill and drill bits
– Level
– Screwdriver
– Ladder (if mounting at height)
## Step-by-Step Mounting Instructions
### 1. Assemble the Mounting Bracket
Start by assembling the mounting bracket that comes with your Acurite weather station. Follow the manufacturer’s instructions to ensure all components are securely attached.
### 2. Mark the Mounting Location
Using a pencil, mark the spots where you will drill holes for the mounting bracket. Use a level to ensure the bracket will be straight once installed.
### 3. Drill the Holes
Drill holes at the marked spots using the appropriate drill bit size for your screws and anchors. If mounting on a wall, ensure the anchors are securely placed to support the weight of the weather station.
### 4. Attach the Mounting Bracket
Secure the mounting bracket to the wall or post using screws. Double-check that the bracket is level and firmly attached.
### 5. Install the Weather Station
Attach the Acurite weather station to the mounting bracket. Ensure it is securely fastened and positioned correctly for optimal performance.
### 6. Test the Station
Once installed, power on the weather station and verify that all sensors are functioning correctly. Check the display unit to ensure it is receiving accurate data from the sensors.
## Maintenance Tips
To keep your Acurite weather station in top condition, follow these maintenance tips:
– **Regular Cleaning:** Clean the sensors and housing periodically to prevent dirt and debris from affecting readings.
– **Battery Check:** Replace batteries as needed to ensure uninterrupted operation.
– **Inspect Mounting:** Periodically check the mounting bracket and screws to ensure they remain secure.
By following this Acurite weather station mounting guide, you can enjoy accurate weather data and reliable performance for years to come. Happy weather monitoring!
Keyword: acurite weather station mounting